How To: Barbell Back Squat (Step-By-Step Guide)
The barbell back squat is an extremely effective exercise, but do you know how to perform it correctly?
The biggest limiting factors in almost everybody’s long-term physique development are mistakes in exercise technique and programme design.
To help fix this, we have produced a series of articles that will break down and take an in-depth look at the major exercises, starting with the barbell back squat.
This guide will cover:
-
Equipment requirements – what you need.
-
How to set up and perform the movement [includes video]
-
Trainer tips on key technique issues.
-
Programme design considerations.
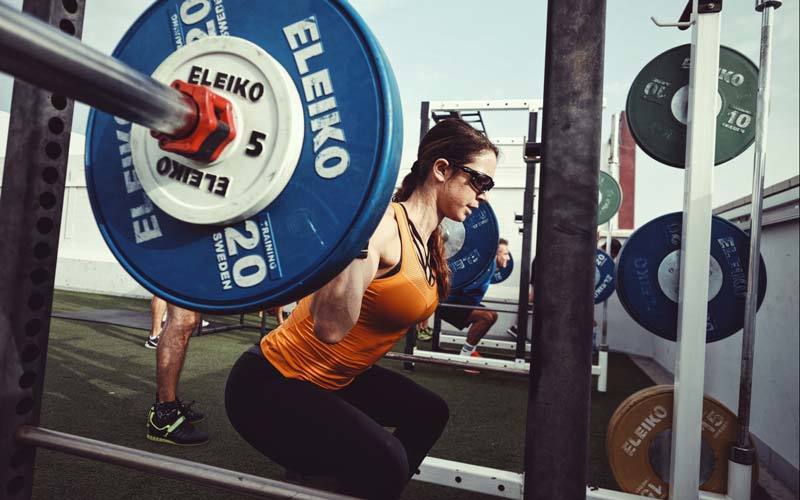
Equipment Requirements – What You Need
To perform the basic version of the barbell back squat you will need the following equipment:
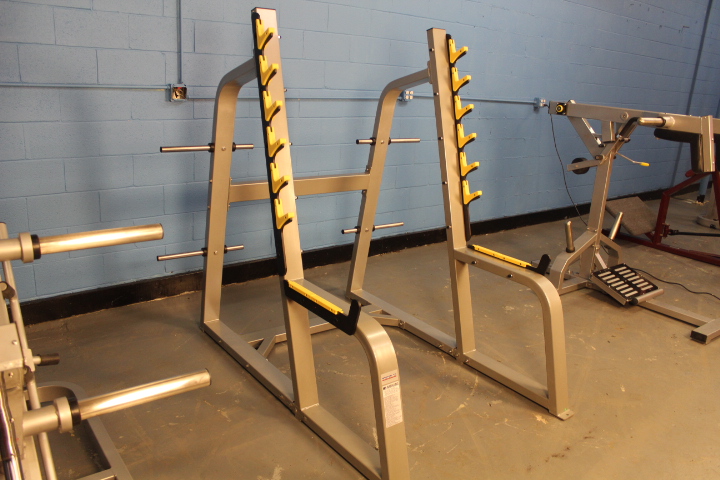
Squat Rack
All good squat racks should have height adjustable safety bars that you can position to catch the barbell if you fail.
Some racks are more adjustable than others and will allow you to make micro-adjustments, whereas others increase the range in relatively larger steps.
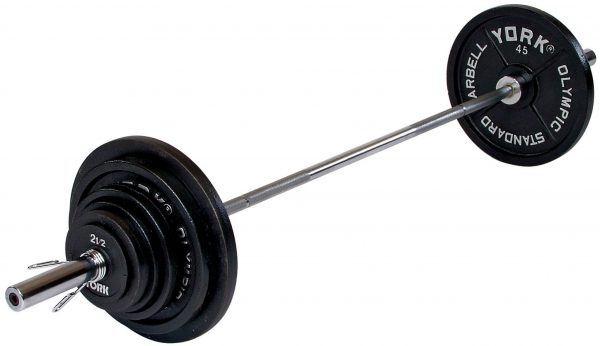
Barbell
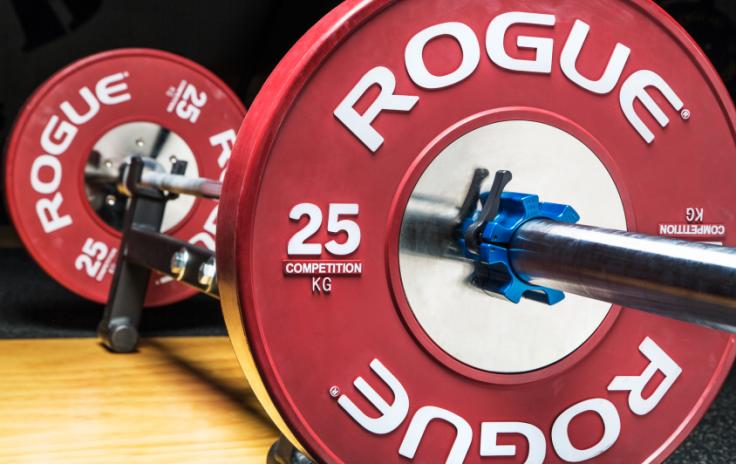
No universally agreed specifications exist for barbells, but the generic straight bars found in most gyms will weigh between 15-20kg. You can double check this using your gym’s weighing scales.
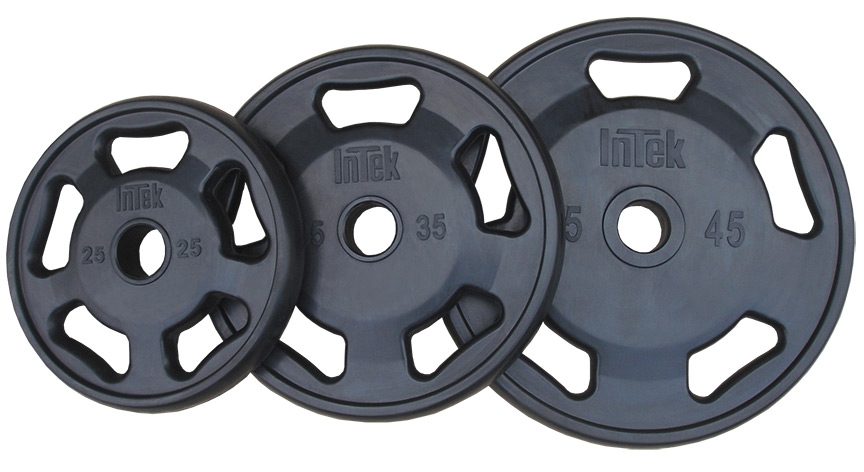
Weight Plates
Most gyms will have weight plates in the following increments: 2.5kg, 5kg, 10kg, 15kg and 20kg.
Barbell Collars
You will need these to hold the weight plates in place securely.
Proper Footwear
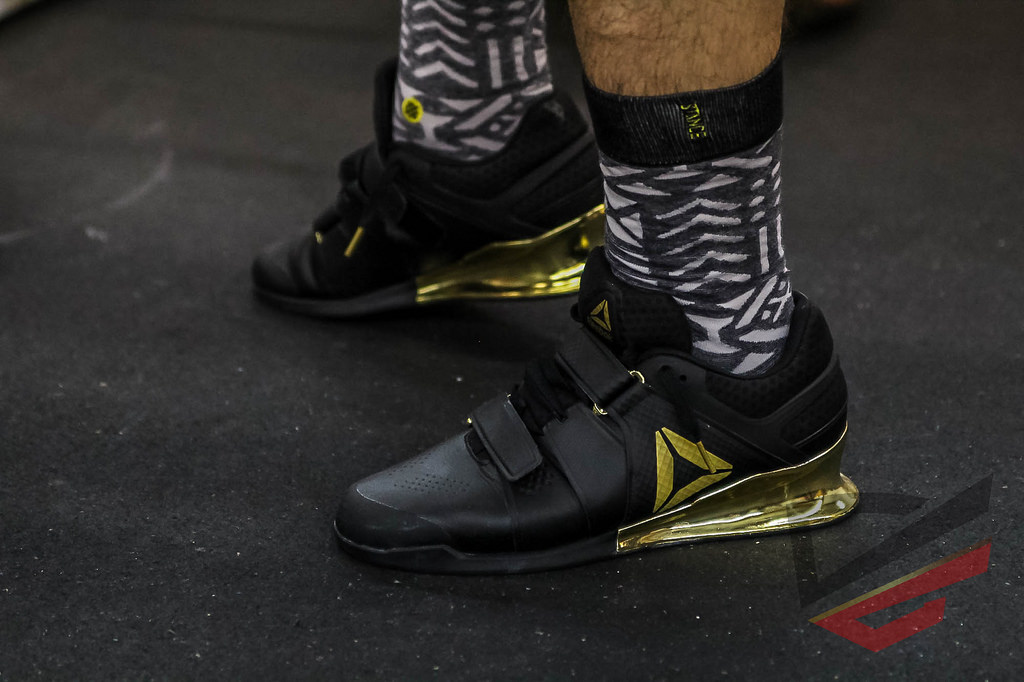
Avoid using soft-soled shoes like running trainers. You may find that the slight heel elevation helps you to squat deeper, but the soft composition of the sole (designed to absorb impact from running) creates an unstable surface and negatively impacts your ability to produce force.
Either make sure your trainers have a hard sole and good traction or go without and squat shoeless. Alternatively, you can purchase Olympic lifting shoes, but these can be expensive, so we recommend learning the movement first before investing.
How to Barbell Back Squat: The Set Up
-
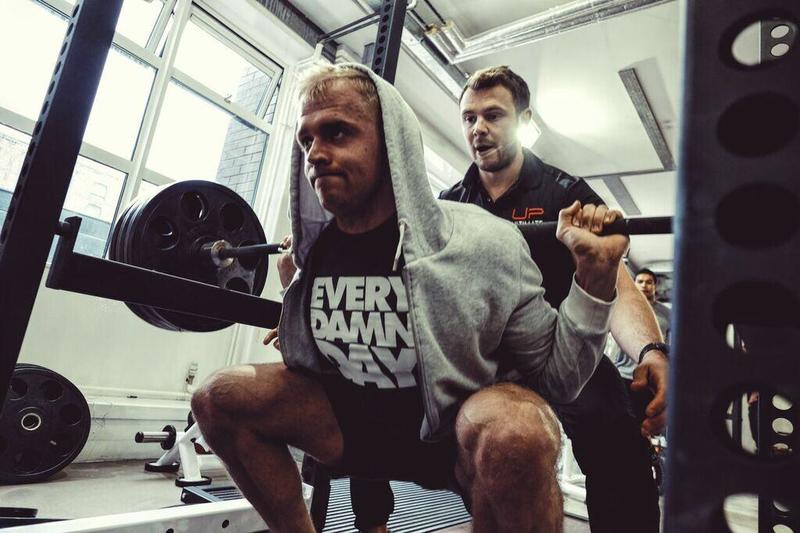
The first step is to get the barbell into position. Set the squat rack hook height at roughly shoulder level.
-
Place the barbell onto the hooks and add the desired amount of weight.
-
Stand close to the barbell with your feet roughly shoulder width apart.
-
Place your hands an equal distance apart from the centre of the bar (using the knurling as a guide). Set your grip width as close as is comfortably possible when in position under the barbell.
-
Pull yourself under the barbell and squeeze your shoulder blades together which will create a shelf-like surface across your upper back for the barbell to sit on.
-
Before un-racking the barbell, take a deep breath into your stomach and lock your abdominals tight like you’re bracing for a punch. At the same time, pull the barbell down into your upper back.
-
Un-rack the barbell from the hooks and give yourself three steps to get into position. Step back with your lead leg (left or right), match it with your other leg and then take one final step to make sure everything is in alignment.
-
Look at the floor just in front of you.
-
This is the start and finish position for each rep.
The Set Up: Trainer Tips
Trainer Tip #1 – Squat Rack Set Up
Positioning the hooks that the barbell rests on in the squat rack too high or low can ruin your set before it even begins.
Setting the hooks too low means you will have to stoop down and un-rack the barbell from an awkward position. Conversely, setting the hooks too high means you will have to stand on your tip toes to both un-rack and re-rack the barbell – not a challenge you want to take on at the end of a tough set!
Make sure to set the hooks at a height that allows you to hold the barbell in the hooks while maintaining your set up position.
Trainer Tip #2 – Find Your Barbell Position ‘Sweet-spot’
There are two different styles of barbell back squat, high bar and low bar, which differ in terms of where the barbell sits on your back.
The high bar squat involves resting the barbell across your upper back muscles on the ‘shelf-like’ surface created when you squeeze your shoulder blades together.
In comparison, to perform the low bar squat, you need to drop the barbell 2-3 inches lower down on your back where it will rest on your rear deltoids (shoulder muscles).
With the low bar squat, you will have to lean forwards more to stay balanced, whereas you can adopt a more upright torso position with the high bar squat. Low bar squats will also place slightly more tension on your hip extensor muscles like glutes and hamstrings, whereas the high bar squat will recruit your quadriceps muscles marginally more.
Given that there are no major differences in training effect or technique when changing between high bar and low bar styles, we recommend experimenting to find what works best for you. Start with a high bar set up (as instructed in this guide) and adjust the barbell up or down until you find a ‘sweet-spot’ that you can comfortably maintain.
If you experience any pain or discomfort from the barbell, then it may be too high and sitting on your C7 spinous process (the small bump at the base of your neck). If so, adjust down slightly.
Trainer Tip #3 – Develop A Set-up Routine
The period between un-racking the barbell and starting your set is known as the ‘walkout’.
A common mistake is spending too much time here, shuffling your feet around all while supporting a loaded barbell across your upper back.
Once you’ve un-racked the barbell, give yourself three steps to get into position. Step back with your lead leg (left or right), match it with your other leg and then take one final step to make sure everything is in alignment.
Turn this into a routine and approach every set in the same way.

How to Barbell Back Squat: The Movement
- Before starting the movement, take another deep breath and re-set your brace.
- Keeping your back straight, push your hips backwards and bend your knees to squat down.
- You have reached the end of your range of motion when you cannot move any lower without your lower back rounding.
- Pause for a moment keeping your upper body braced and tension in your legs.
- Push through both legs to reverse the motion and return to the start position.
- Pause briefly to re-set your brace and repeat for the desired number of reps.
The Movement: Trainer Tips
Trainer Tip #1 – Know Your Range of Motion
A popular guideline for range of motion (how far you can move during an exercise) is to squat until your hamstrings touch your calves, something commonly referred to as squatting ‘ass to grass’.
However, this is an over generalisation and not specific to you as an individual.
There is a general technical model for the barbell back squat which we’ve outlined in this guide, but how this looks in practice will vary slightly between individuals based on individual differences in hip anatomy and limb length ratios.
You have reached the end of your range of motion when you can’t squat any lower without your hips starting to ‘tuck under’ or ‘butt wink’. Beyond this point, any additional range will come from flexion of your spine (a technical term for your lower back rounding).
If your goal is to build the major muscles groups of the lower body (quadriceps, glutes and hamstrings) while maintaining a healthy lower back, then there is no benefit to exceeding your range of motion.
Before starting your workout, we recommend performing a specific warm-up to help determine ranges of motion for safe and effective training. Start with an unloaded barbell and progressively increase the load with each warm-up set.
You can also video record yourself performing a set or ask a training partner/professional trainer to help identify the end-point of your range of motion.
Trainer Tip #2 – Use Simple But Effective Performance Cues
Cues are a type of instruction we give clients to help teach and reinforce proper exercise technique.
An effective verbal cue takes a complicated set of actions and expresses it in a simple and easy to follow manner.
Here are the three most common verbal cues we use with clients at Ultimate Performance when performing the barbell back squat.
‘Focus on pulling down and bending the bar’
Throughout the movement, try focusing on pulling down on the barbell as if you were trying to bend it across your upper back.
Doing this will tighten your upper back muscles and increase tension throughout your entire body that reinforces other important aspects of your set up.
And when you hit a ‘sticking point’, a quick reminder to ‘bend the bar’ can help you to maintain proper technique and push through that portion of the movement.
‘Focus on driving the chest up’
A common technique red flag with the barbell back squat is when somebody’s hips are the first thing to lift when transitioning from the bottom position into the upward movement.
A simple cue to help fix this is to focus on ‘chest goes first’ when driving out of the bottom position. You can also try focusing on keeping the distance between your hips and shoulders equal throughout the entire movement.
‘Focus on driving your feet through the floor’
Instead of thinking about lifting the barbell up, try focusing on the reverse action and visualise pushing your feet through the floor on the upward movement.
Trainer Tip #3 – Hold Your Breath
The barbell back squat requires a great deal of upper body stability as the load sits on top of your upper back.
To create as much tension as possible in your upper body, take a big breath down into your stomach before you start your descent and then lock your abdominals tight as if you were bracing for a punch.
The technical term for this is ‘bracing’.
Once you’ve taken a big breath and set your brace, hold it for the entire movement. All the way down, all the way back up. No air should escape your lips.
At the top of each rep, pause briefly to re-set your brace before starting the next rep. You may not feel the need to re-set for each rep when you’re first learning to squat or lifting relatively light weights for high reps. However, it’s a good habit to get into for when you progress to lifting heavier weights that challenge the integrity of your brace on every rep.
Just make sure you’re only pausing briefly and not resting for several seconds.
Trainer Tip #4 – Eye Placement
During the movement make sure to look down and slightly forward at the floor space just in front of you.
By looking down slightly, rather than keeping your gaze fixed on the wall or mirror straight ahead, you keep your head in alignment with your spine and avoid straining your neck.

Programme Design Considerations
Exercise Selection
The barbell back squat is a complex exercise that requires an advanced level of strength and coordination to execute correctly.
Before introducing the barbell back squat into your training programme, we recommend focusing on exercises with shallower learning curves that target the same muscle groups and allow you to develop skills that will carry over to the barbell back squat.
For example, we almost always include a split-stance squat movement in a new client’s programme at Ultimate Performance, starting with a step-up and progressing to split squat variations.
If you’ve never back squatted before or are new to training in general, then focus on foundational exercises like the step-up, split squat and leg press for 10-12 weeks before introducing the barbell back squat.
Check out our exercise video library for video demonstrations of the above exercises.
Sets and Reps
- The number of reps you perform has a big impact on the adaptations made by your body in response to training. As a result, your training goals will go a long way to determining the right rep range for you.
- If your goal is to improve the maximum amount of weight you can squat, then you should focus primarily on lifting weights that are challenging in the 1-5 rep range.
- If your goal is to build muscle, then you are looking for the most efficient way to accumulate training volume, which is typically easiest to do in the 6-12 rep range.
- When you first start squatting, we recommend sticking to the 6-12 rep range. Lifting heavy weights for a low number of reps is a skill and attempting to do so without sufficient training experience can result in technique breakdown and injury.
- You will also benefit from more practice time per set than the low rep range.
- We very rarely prescribe sets of more than 12 reps on complex exercises like the barbell back squat, as the chances of technique breakdown tend to increase above 12 reps due to fatigue and loss of concentration.
Exercise Order and Pairings
The barbell back squat is a demanding exercise that involves supporting a loaded barbell across your upper back, coordinating the movement of multiple joints and challenging muscles all over your body.
As a result, we recommend performing it at the start of your workout when you will have more energy and perform better.
Regarding exercise pairings, you can either choose to perform:
-
Straight sets: A type of exercise pairing, where you perform repeated sets of the same exercise, separated by an appropriately sized rest period.
-
Paired sets: A type of exercise pairing, where you perform two exercises in alternating fashion, separated by an appropriately sized rest period.
Pairing exercises together and alternating between the two can be an efficient way to train, but you need to be aware of target muscle group overlap.
If there is too much overlap between two exercises in terms of target muscle groups, then the fatigue generated from performing the first exercise will carry over and interfere with your performance in the second exercise.
To minimise any impact on your performance, we recommend pairing the barbell back squat with a leg curl or upper body pressing movement, such as the dumbbell bench press.
However, if your goal is to lift the most amount of weight possible, and you have the time to spare, then try using straight sets.
Rest Periods
Not resting long enough can be a high-risk strategy with complex exercises like the barbell back squat.
Incomplete recovery can throw off coordination and control, which increases the risk of injury. It also reduces the number of reps you can perform on subsequent sets compared to resting longer.
-
If performing straight sets, we recommend resting for between 120 to 180 seconds.
-
If performing paired sets, we recommend resting for between 90 to 120 seconds.
Make sure to rest for the lower limit, but you can start sooner than the upper limit if you feel ready.
Repetition Speed / Tempo
Repetition speed, also known as tempo, is a measure of the speed you move at during a rep.
At Ultimate Performance, we place a strong emphasis on tempo when training our clients, because it is an excellent tool for teaching how to lift weights with control.
-
Make sure to pause in the bottom position rather than bouncing out of the ‘hole’. Including extended pauses here (1-2 seconds) is a great teaching tool that encourages you to lower the weight under control, maintain a consistent range of motion and to start the next rep by engaging the right muscles.
-
Only pause long enough in the top position to re-set your brace. Any longer and you’re resting!
-
The downward movement (eccentric phase) should take between 2-3 seconds, and the upward movement (concentric phase) should take 1-2 seconds depending on how heavy the weight is and how fatigued your muscles are.